First of all, I made this tutorial to share how to create low poly arts with my colleagues and my students. Feel free to share this tutorial with others.
You need to download the Image Triangulator.
The developer says that "Image Triangulator gives you the ability to triangulate any image. The level of abstraction you get depends on the amount of points you plot. The app will allow you to save your plotted points as a text file and the final image as a pdf".
This great application help you save a lot of time and efforts when you create the mesh – the triangles. If not, you have to draw all the triangles with Adobe illustrator's pen tool. Also, you can save your points as .txt file and reload them when you need it. Also, export the low poly art as PDF, so you can edit it in Illustrator whitch is great.
Let' start with the old work without the tringulator app for comparison.

Without the Image Triangulator
- start with a nice photo and draw a mesh with the brush tool in Photoshop


- Bring the lines as JPG to Illustrator and draw all the triangles with pen tool.
(I do not know how many triangles I drew. I spent almost 2 days. You know that it takes time and efforts)

- if you missed some triangles, you have to make up

- Add colors to tringles using the spoiler tool in Illustrator. It is fun, but it takes too long time.

It is the tinal artwork. I know that I can do better if I spend more time. However, it made me exhusted. There are only 6 screenshots, but I have to spend more than 3 days to make it. I do believe that human is better than any low poly generators. But I want to find a better and easier way to create low poly arts and I found it finally.
Simply, I do not think it is a good way for my class and students.
So, I tried to find a better/easier way to create a low poly art and I did it.
------------------------------------------------------------------------------------------------------------------------------------------------------
The tutorial begins here.
First of all, You need to download the image trialgulator. Image-triangulator download
I will show you know how to create a cool low poly art in a day, in a couple of hours.

- You need to start with a image you want to play with. It would be better to have high quality image. It does not have to be high rez, but has good contrast and color. If the image is too bigm the image trangulator will scale it down.
- You need to open the image triangulator.
(a design team called Concept Farm distribute this application. Thank you!
- This application has very minimal functions. Keep it mind it does not has zoom in/out and un do.
(I hope it would have zoom in/out and un do, so I can deal with more details.)

- Choose an image and start to add points. I choose a bluish saturated image. The application will draw the mesh based on the points you added.

- It would be good to start with drawing the outline

-The application has 4 modes: Original, Blurred, Mesh, Result. When you draw the mesh, use the "MESH" mode.
- When you click the "RESULT", it will show you the vector graphics. Let's keep add the points.

- Because zoom-in/out and un-do (command+Z) like Adobe product, but it has Loupe (L) and Eraser (E) function. They are really useful!,
- When you show Loupe (L), there will be a small window on the top left-hand corner of the window. But it would be better to be careful when you add points.
- When you show Loupe (L), there will be a small window on the top left-hand corner of the window. But it would be better to be careful when you add points.
- Better to think about lighting and shade of the face (you can learn about this from the tuutorial 001)


- If you don't like your points, you can remove them using the Eraser (E) function.


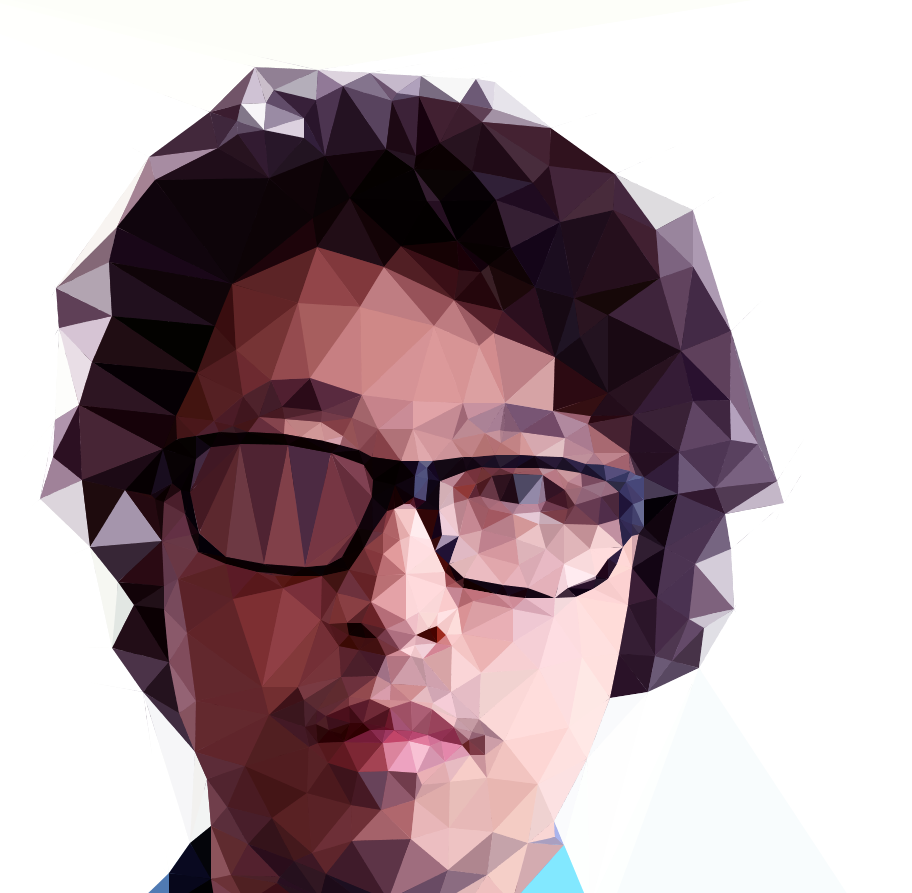
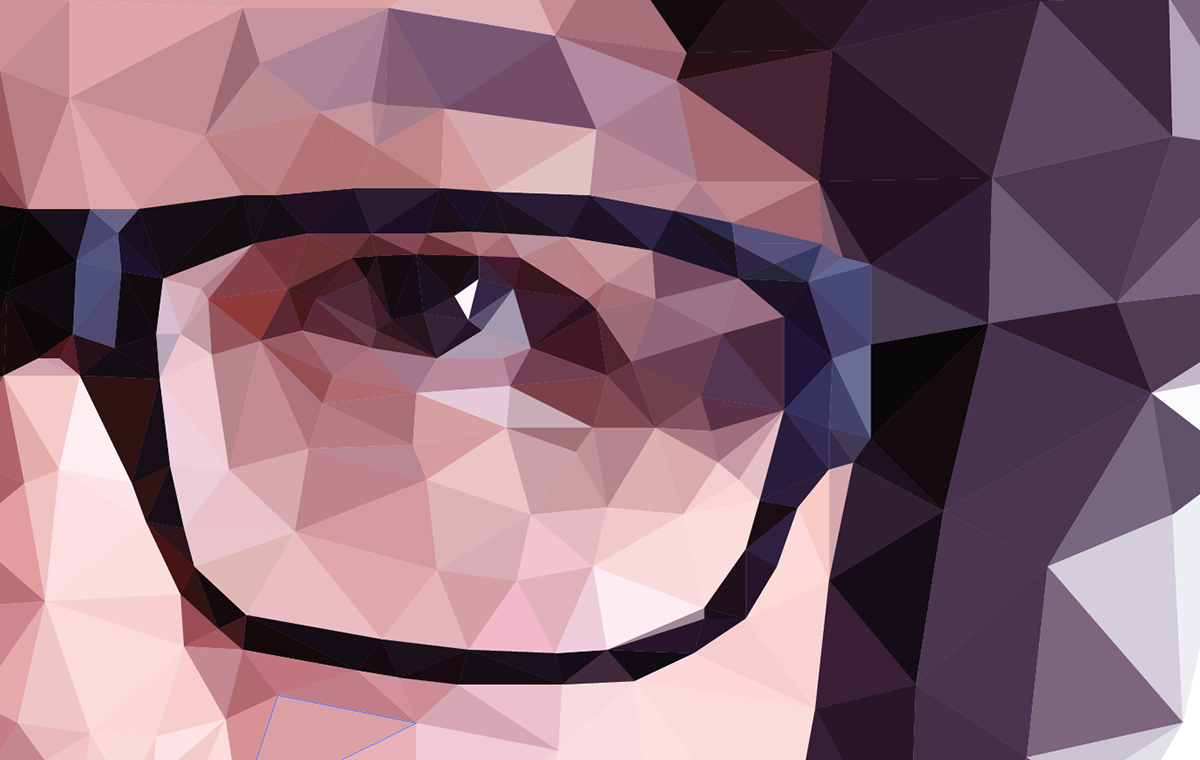
- Now it looks like a face, but it is time to draw eyes which is not easy for beginners. But don't worry.
- Like the beginning, it would be good to draw the outlines.
- Better to think about the shape of the eyes.

- When you add new ponts, the mesh would be changed.
(for example, the shape of the glasses was changed because I added more points to draw eyes.)

- So, you need to add new points to shape the glasses.
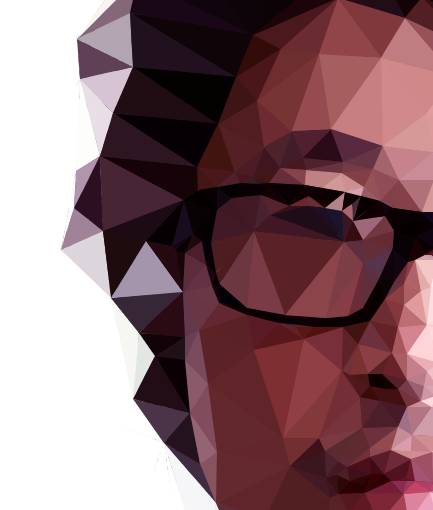
- Some areas need more details, such as eyes, nose, and accessories.
- You can draw a tiny tirangle, so you can make a highliter in the eyes.

- DO NOT forget to save your points! It would be saved as .txt

- It would be bettre to make sure that there is nothing you can do with the Image Triangulator before you export it.
(I mean when you cannot deal with more details, it's time to move to Illustrator)
- When you are done, you can save the low poly art as PDF.

- Open the PDF using Illustrator and release clipping mask

- It would be better to copy the vector graphic and paste it into a new document.

- Add a color to strock, so you can see the all the triangles.

- Get rid of triangles you do not need.


- It's time to deal with details. You need to see the outlines (Command+Y)


- Use Direct Selection Tool (A)
- With the Direct Selection Tool, select points at the same place


- Edit the shape of the glasses

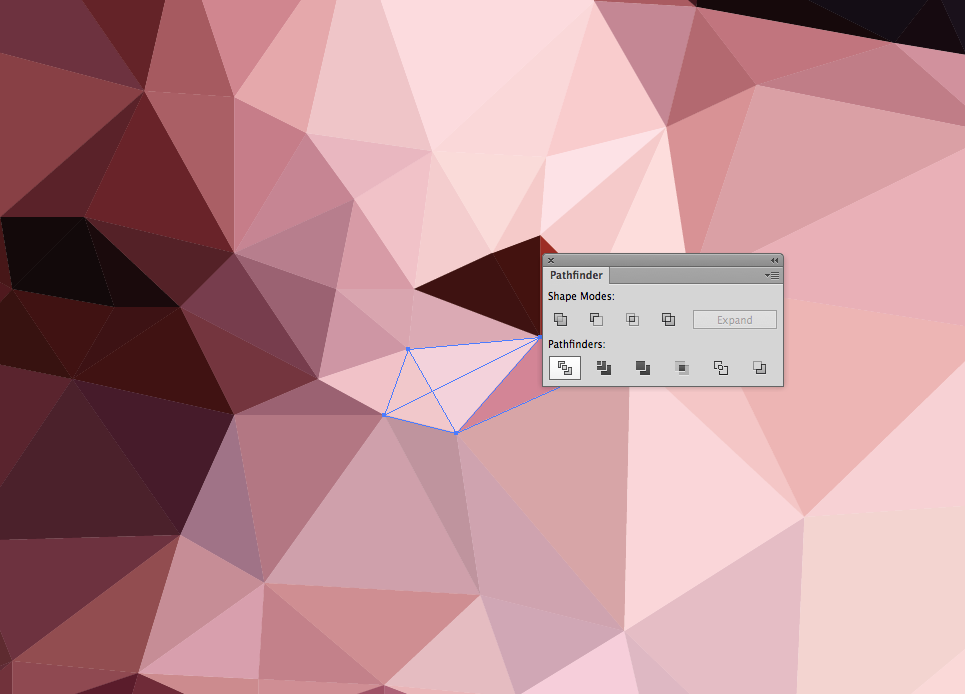
- If you think they need to be divided more, you can add a line and divide them using pathfinder.
- Always think about the light and shade when you divide triangles.

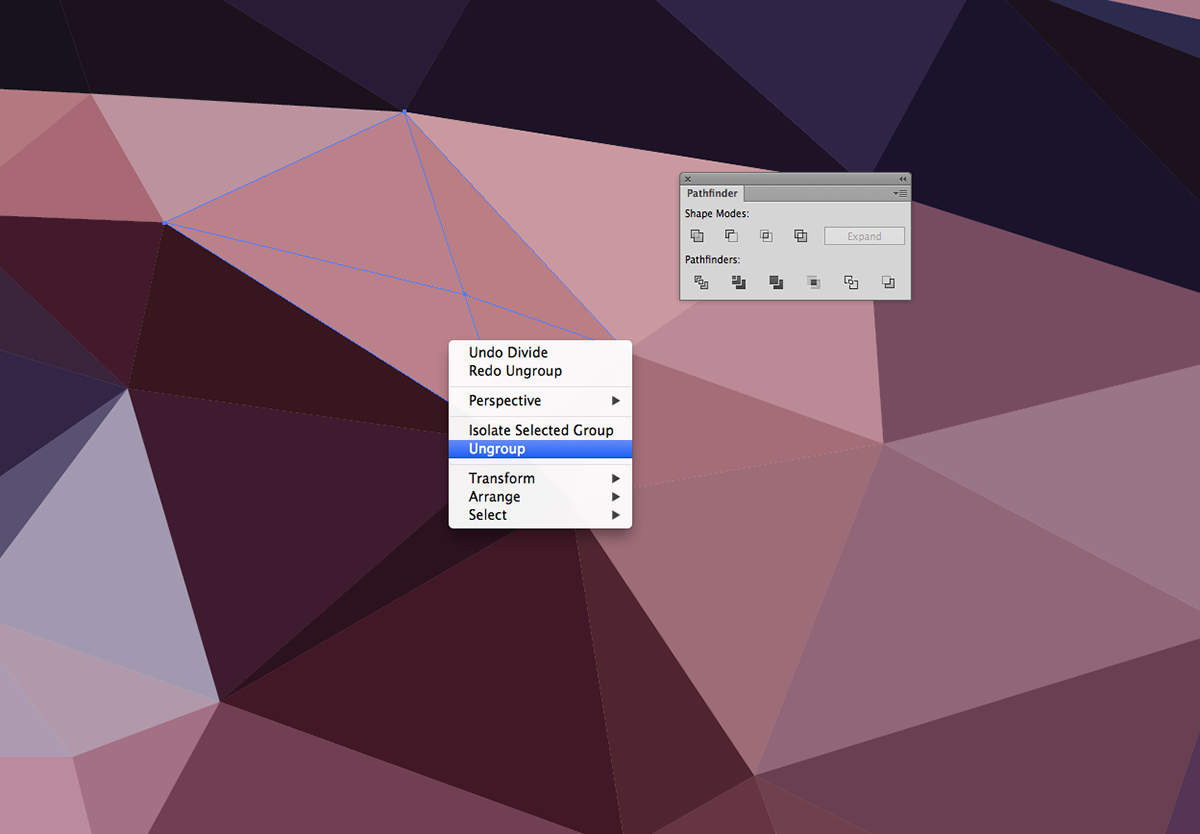
- Ungroup then after dividing them.

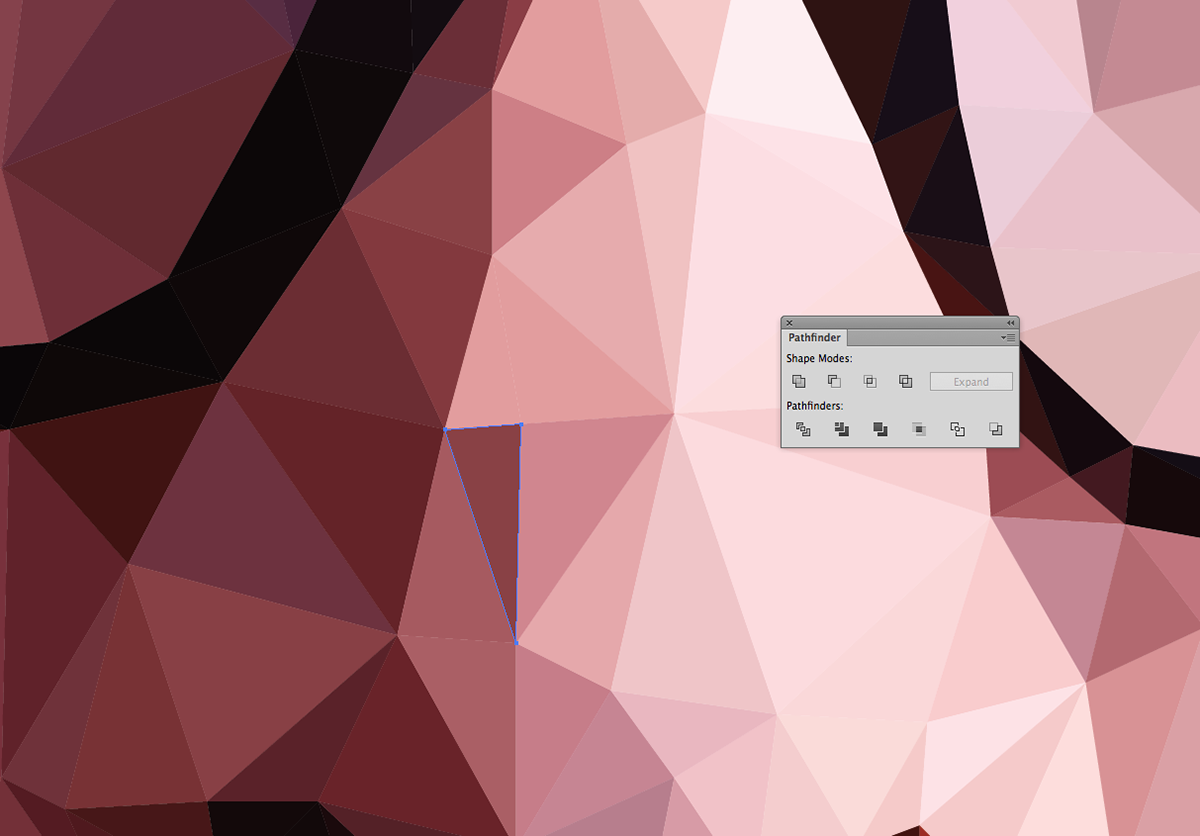
- Divide one moretime if it is not a triangle. Let's make all triangle – no exception.
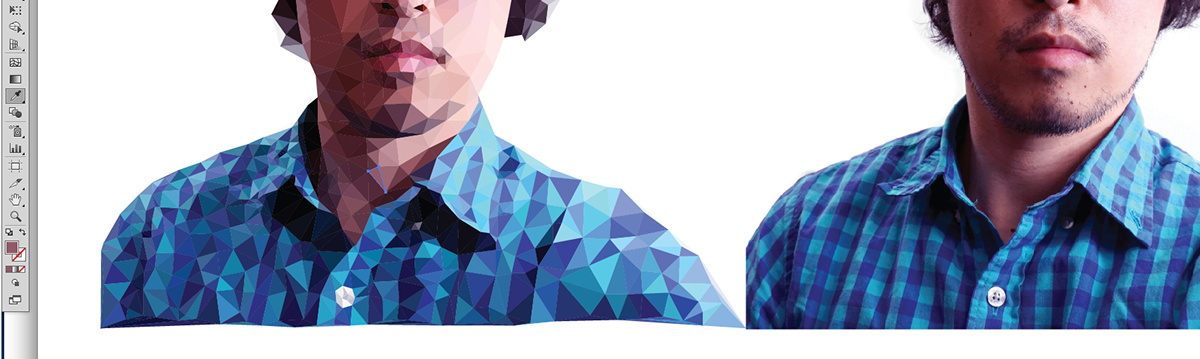
- Change the color of the new triangles. You can use the Spoilet tool (I) to pick up some color from other triangles or the original photo.

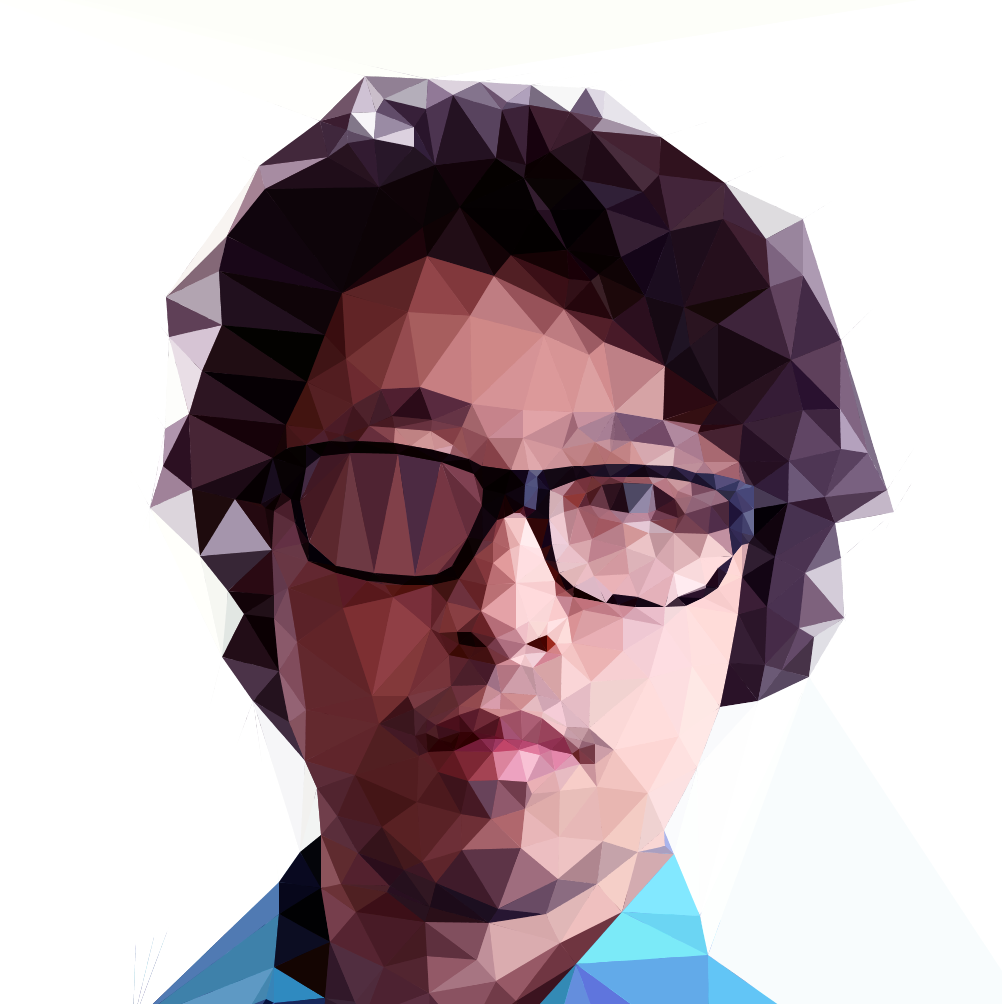
- See the difference? You have to deal with details to make a better piece. You know, "God is in the details"

- Divide trialgles around my nose because I do not like the higjlight is too obvious.
- Eyes, nose, lip and/or accessories need more complex mesh because they has many curves on surface.
-Also, it would be good to make a good contrast between complexity and simplicity. For example, forhead would be relatively simple and soft but the glasse would be very complex and hard.

- Keep dealing with details.


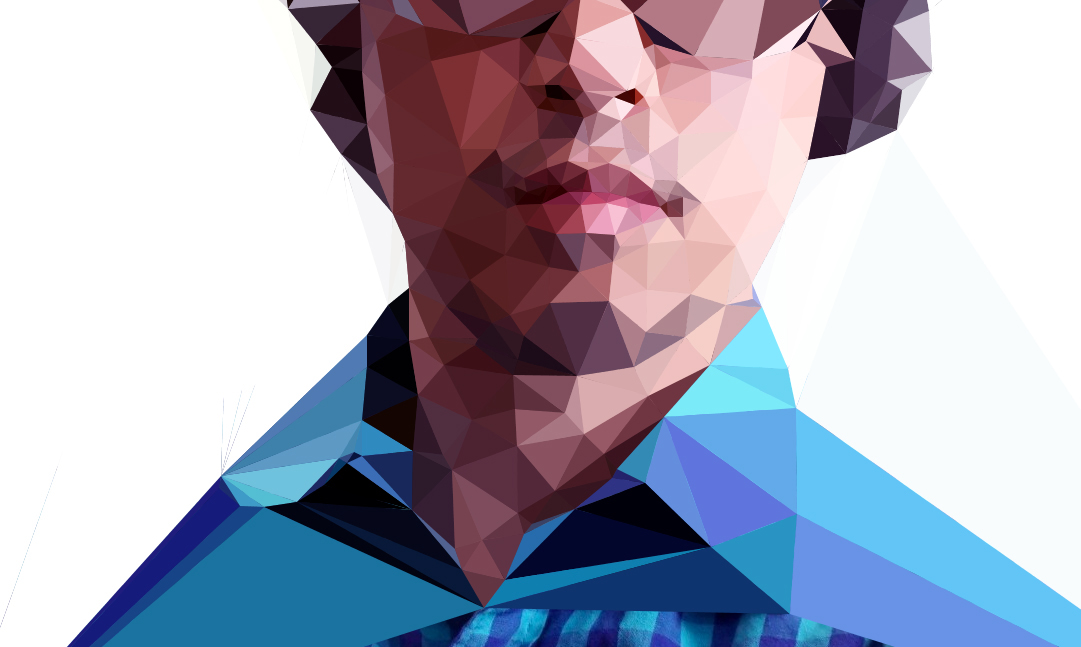
- The shadow on my neck looks unnatural. So, I divided a couple of triangles ans changed the colors.
- Use the spoiler tool (I) to pick some colors from the original photo.

- it looks better, but I will fix it later if I feel it needs to be better. Btw, it is enough for this tutorial. Honestly, I do not have time to fix it right now.

- If you want a background, you have to fix the white traingles. Because the image triangulator will make the triangles aroung your hair white, or the color of the background.

- You can delete them or change the colors of the triangles.

- Here is a great tip. For this tutorial, I used the satulated photo for image triangulator. As you can see the image is blueish + purple. What if you want geeenish low poly? Yes, you can make one in 5 min if you saved the points before.

- Simply, load the greenish image or whatever you want and load the points you made.

- If you want duoton, why not?
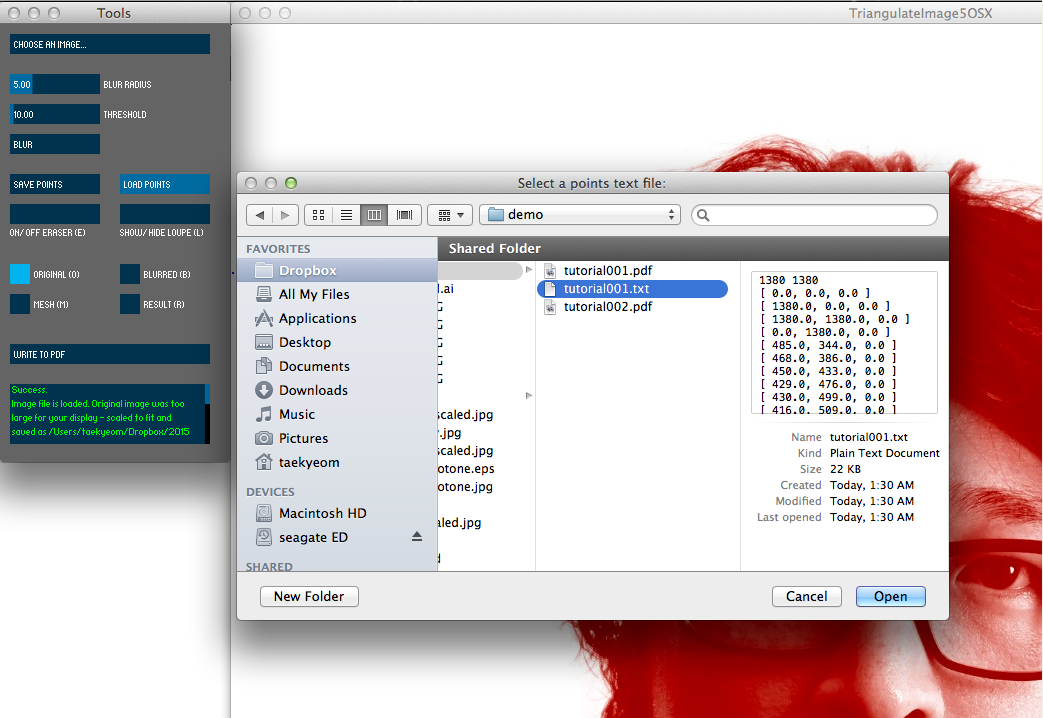
- Choose an image and load the point. That's it.

Although you have to deal with details again, it saves a lot of time than changing all the colors of the triangles.


UGH!


Hope you are able to create your own low poly art!
Please share your work if possible.
Thank you!!


