Jenness Surf Kayak
An exploration into surf kayak design
An exploration into surf kayak design
When I moved to coastal New England and away from the mountain rivers, I sought a new way to enjoy the exhilaration of river kayaking at the beach. Surfing plastic river kayaks in ocean waves left a lot to be desired, so I decided to design and build my own composite surf-specific craft.
I based the hull on surfboard features, and I designed the deck with integrated thigh braces, a convex shape (to allow for easy paddling through rough surf), and ample stern volume (to keep you out in front of the breaking wave). As you will see in this build project, I created three prototypes which evolved into a fast carving surf kayak design.
I based the hull on surfboard features, and I designed the deck with integrated thigh braces, a convex shape (to allow for easy paddling through rough surf), and ample stern volume (to keep you out in front of the breaking wave). As you will see in this build project, I created three prototypes which evolved into a fast carving surf kayak design.

Everything started with a concept sketch for the Jenness surf kayak. Some of the key features started here: Integrated thigh braces, convex deck to shed water and aid in paddling out through breaking waves.


I manufactured foam deck and hull "plugs" on a CNC router, which I built as set up in my garage. I then made fiberglass parts off of the plugs and assembled them together to create the raw kayak.

After finishing and outfitting the shell, it was time to take it surfing.
Here we have the Jenness Surf Kayak in action.


The deck and hull plugs were once again machined on a CNC router that I built for this purpose. Here the stern section of the hull plug is 80% finished. I machined all sections to a datum, then assembled, fiberglassed, and coated them with a primer before I made parts from them.
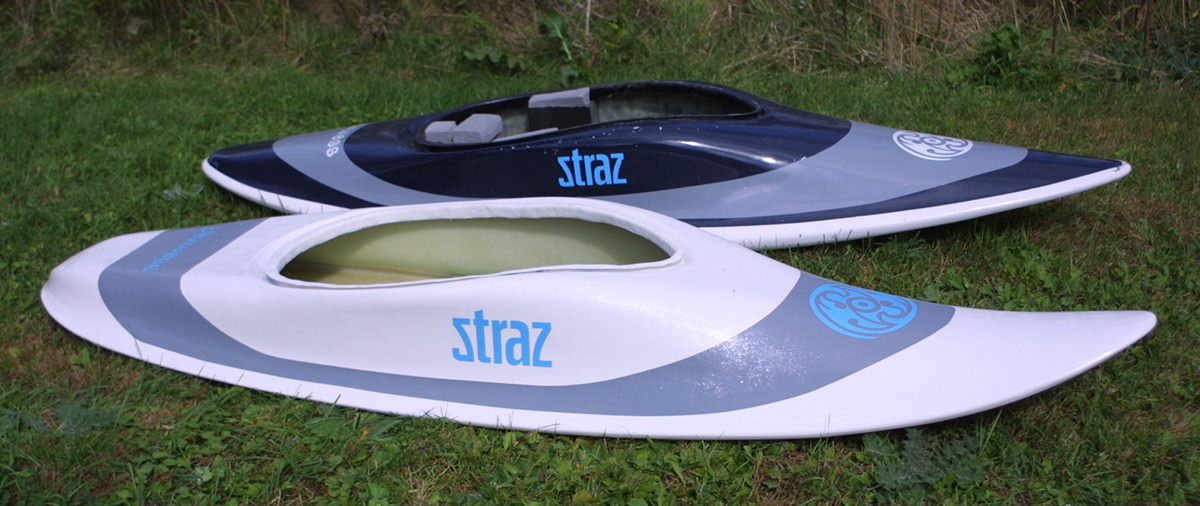
The new kayak in the foreground displayed with the first version.

The two versions side by side.

Fully outfitted and ready for surf.

The second kayak in action.

I designed a third version to incorporate double concave hull features and more volume in the stern.

I built the hull (seen here) and deck in CNC machined molds. Instead of building a plug, I built a mold, which allowed me to vacuum bag the laminates and produce a smoother surface finish. This hull version utilized reinforcing foam and only three layers of fiberglass cloth, versus the seven layers of fiberglass I had used in the previous designs. This created a strong and light kayak.

The finished third kayak. The glossy finish is the result of vacuum bagging the laminates with a tinted resin in a polished mold.

Deck and hull were joined with a layer of kevlar seam tape.

Ready for the surf.
