


My wonderful neighbor loves orchids and receives them as gifts. For his birthday, I wanted to make a paper orchid and used my own for inspiration.
I scanned and traced the petals, reducing them to 25%, then cut out with my Silhouette die cutter. Next I added color with a marker and water color paints. Using a dried out ballpoint pen, I scored the middle vein and curled the petals. After stacking and gluing the layers together, the blossom simply comes to life.
I poked a hole in the middle of the smallest bud and inserted the end of the floral wire, adding white glue to hold it in place. I then glued the open blossoms to the wire, ensuring my glue coated the wire thoroughly.
My favorite part is the delicate pair of curly wisps in the center of the flower.
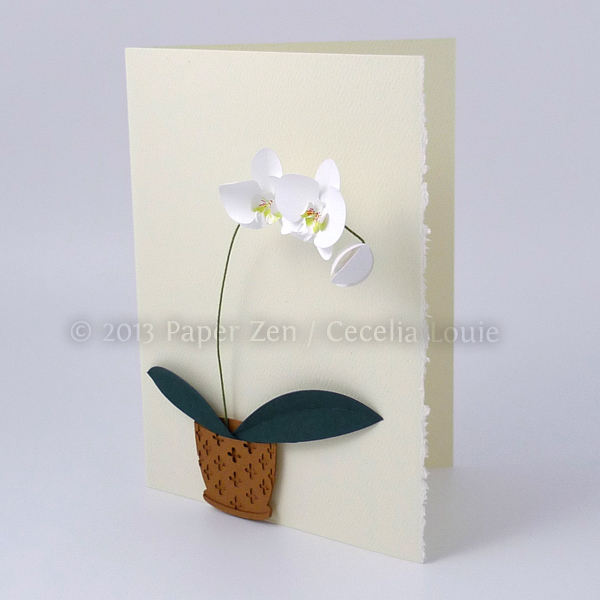
Then I cut two leaves and manually scored the vein with a dried up ballpoint pen. The pot is made of 3 layers of metallic copper card stock and floats a bit due to adhesive foam dots on the back. It was great having my real plant as a visual reference, because it helped me realize I should glue the items asymmetrically, not all centered. I believe it's these small subtleties that makes a piece.
I have moved my plant throughout the room, depending on my needs, and the stems would gently wave up and down, heavy with the weight of so many blossoms. I deliberately left the wire unglued to his birthday card, and as I place it on a table, it also gently waves, just like the real thing - so fun to watch! The blooms are cut from 65lb paper, so it's sturdy and gives just the right amount of weight on the wire to make it bob.


